- ALL ROLES
- Tifa Sex Doll
- 2B Sex Doll
- Ciri Sex Doll
- Lara Sex Doll
- Aerith Sex Doll
- Mai Shiranui Sex Doll
- Lightning Sex Doll
- Yuna Sex Doll
- Ashley Sex Doll
- Ada Wong Sex Doll
- Lockne Sex Doll
- D.Va Sex Doll
- Tracer Sex Doll
- Mama Sex Doll
- Quiet Sex Doll
- Lucy Sex Doll
- Jill Valentine Sex Doll
- Nozomi Sex Doll
- Yennefer Sex Doll
- Triss Merigold Sex Doll
- Chun-Li Sex Doll
- Bayonetta Sex Doll
- Mei sex doll
- Mercy Sex Doll
- Lili Sex Doll
- COLLECTIONS
- IN STOCK
- ACCESSORIES
Complete Doll Care: Cleaning, Fixed or Removable Parts, Wig Storage, Joint Repair, and Blouse Tailoring

First Prize
Rank: First Prize
WhyNotTry
Contributor: WhyNotTry
Comprehensive Guide to Doll Care and Maintenance
Professional tips for cleaning, storage, repair, and customization of silicone dolls
Table of Contents
1
Cleaning a Doll
Depends on TPE or Silicone but I only use silicone Dolls,
Required Parts and Tools:
1. 5Ga Bucket
2. Plastic Cups for Hot Water
3. Anti-bacterial Soap
4. Baby Wipes
5. Rubbing Alcohol
6. Hot Water Source
7. Microfiber Cloths
8. Extra Large Body Powder Puff
9. Baby Powder with Cornstarch
Cleaning Process:
Baby Wipes are used to clean the mount, after that a light rubbing Alcohol on a microfiber towel on the most "used" parts (including the mouth), try to avoid using a lot of Alcohol as this it will dilute the paint of the doll.
Hot water soaping water for the rest of the body and a wash off with regular hot water. I only really do wet rag baths as I want to avoid risking getting water on metal and rusting the skeleton inside. The 5gal bucket is useful for dumping water from the rag.
After the Bath, powder with baby powder (corn starch) I use Extra Large Body Powder Puff to cover more area, try to avoid breathing this stuff in.
After Cleaning, I use Powder puff pads and powder down the whole doll, not leaving to much but a clean dusting to the point you no longer feel the stickiness of the Silicone. It also makes the silicone skin feels more natural as silicone is sticky by default. A human body is default sticky but out outside skin layer is (dead) and flakes off. since silicone dolls do not replace the outer layer, you do this with the powder to stop the stickiness.
Cleaning a Doll's Fun Parts (Removable Vagina Type)
My preferred for cleaning as I like inserts more than fix, But I know most people get Fixed
Required Parts:
Drying Sticks
Microfiber Cloths
Anti-bacterial Soap
Rubbing Alcohol
Hot Water Source
Baby Wipes
Paper Towels
Step 1: Body Cleaning
Remove the vagina and then use some wet wipes (baby wipes) on the areas that were use.
Get a Microfiber cloth (paper towers can leave filament behind) and then wipe down the areas as well.
You will probably need to repowder the areas with baby powder.
Step 2: Vagina Cleaning
Take the vagina, get very hot water, and some Anti-bacterial soap (most times it's the green detergents). I put some into the vagina and then hot water while leaving a gap.
Squeeze the top opening and squish the water around inside almost like a toy, do these 4 more times. So, 5 total.
Do a round of just clean hot water until all the soap foam comes out.
Fold out the vagina and make sure everything gets removed.
After checking put some rubbing alcohol almost like it was hot water and squish it around, this will kill anything remaining and also removed a lot of the water.
Stick in a drying tick into the removal vagina and wrap with a microfiber cloth and put away.
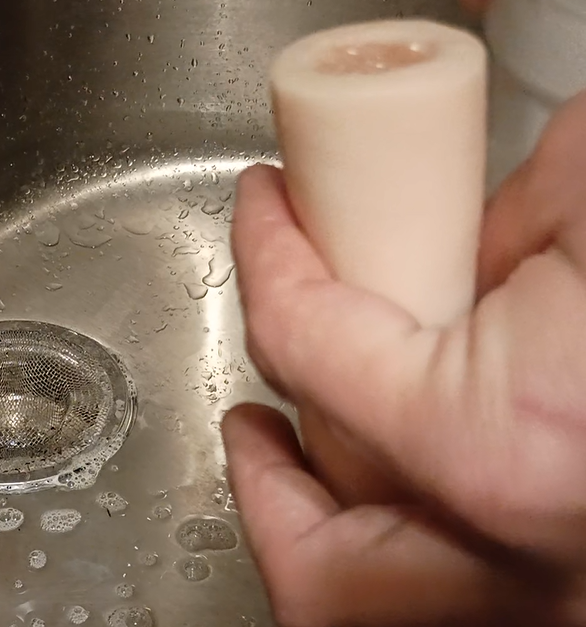
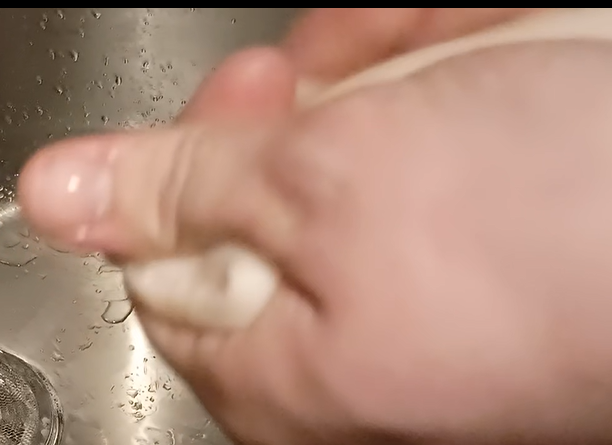
Insert cleaning demonstration and process
Pro Tip for Inserts:
There is a discussion of Either Lubing your Insert or to powder. I personally put A lot of powder on the Insert and I bend the Doll Legs up to help in putting the vag in.
Fixed Vagina Type Dolls (Silicone)
Good for sex but make sure to clean well.
Required Parts:
5 Gallon Buckets
Buckets Anal Douche
Precision Kelly Forceps
Female Drip Sticks
Cotton Balls
Drying Sticks
Plastic Cups for Hot Water
Microfiber Cloths
Anti-bacterial Soap
Rubbing Alcohol
Hot Water Source
Baby Wipes
Paper Towels
Preparing the Doll for Cleaning:
A. Get a batch of hot water made.
B. Fill up 2 Anal Douche (one with hot water and soap and 1 with just hot water.
C. Fill up a few cups of Hot water and soap and one with Just hot water.
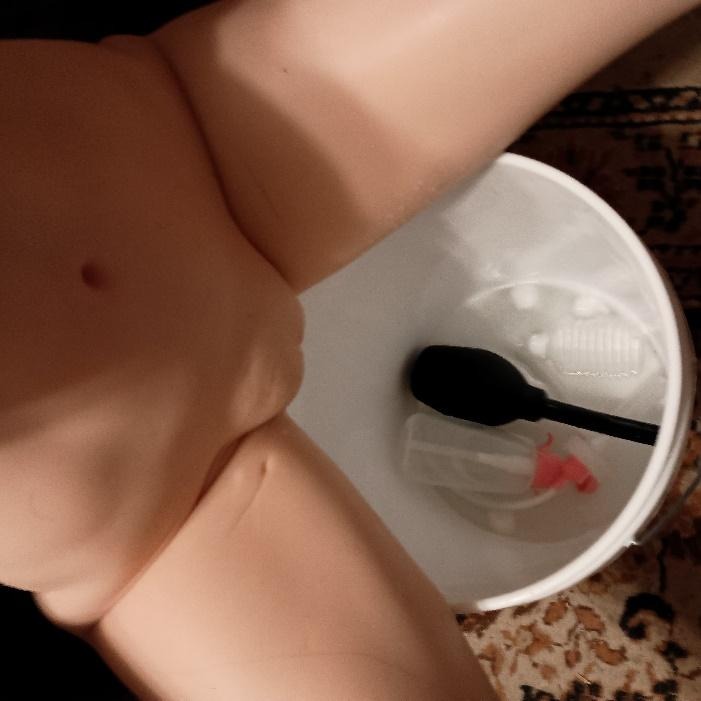
D. Position the doll as it they are sitting L with their pussy spread (like 45-90 degrees Spread open
E. Put the doll that's how sitting on top of the bucket. The legs should reach the floor and give assistance. I would also advise the back of the doll be against something (a bed or a wall) to add support. The doll should sit on the bucket with her reveling her groin to you and the pussy should be facing down into the bucket.

Proper positioning for cleaning a fixed vagina doll
Cleaning the Doll (Steps A-H):
A. Get a female "Drip Sticks" and shove it into the pussy, This is to try and get as much of the raw cum out of the pussy, keep wiping down the stick (because it will be soaked) a paper towel to get a lot of the cum off.
B. Put the Anal Douche into the vagina and then squeezes the water, this will be repeated a lot because you will keep the Douch squeezed down and suck up the soap water from the cups. The objects is to do this 10 times.
C. After the soap water then get the hot water Douch and then squeeze into the push to remove the soap water (do this 2 or 3 times).
D. After flushing the doll get the locking medical tongs put a cotton ball that is soaked with rubbing alcohol.
E. Put the medical tongs up the entire hole and rub around. Make sure to not unlock the tongs or the cotton ball will get suck. You will rub the ball around the hole. Replace and do this 3 times to just fully sterilize this.
The water should be coming out of the Vagina as you rub the cotton ball around.
F. Reposition the doll toe long term (standing or bed)
G. Put into the Drying Sticks, after 15 minutes replace this stick with another and that one will be in for a day or so.
Some people like using an Air pump, I see this as a more of a TPE issues since TPE fold in upon itself that makes water cavities. You can use an Air pump here but I don't use one.
H. Clean up everything and dump the water on the bucket.
Cleaning tools and setup for fixed vagina dolls
3
Wig Storage
Storing a wig correctly will keep the right shape.
The Traditional Door Method
You can use theses on the door but adding to much weight on a door will cause issues on the hinges and may cause your door to sag and to not close well in the future. I put them on Carts Instead

Traditional door wig storage method - caution advised for door hinges
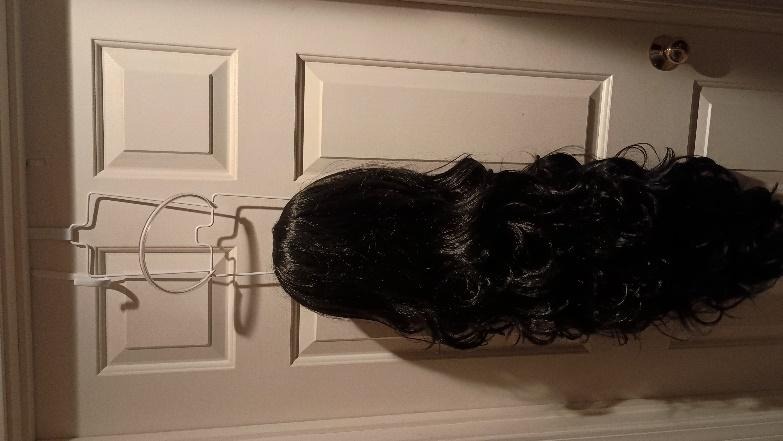
Door wig storage setup example
The Cart Method - My Preferred Solution
I made theses because the Wigs actually started messing with my door henges and I wanted to stop that so I made these, the total cost for the cart is around 90 USD + the wig hanger sets (with that it's around 170 Total) It also depends on the amount of brackets you want.
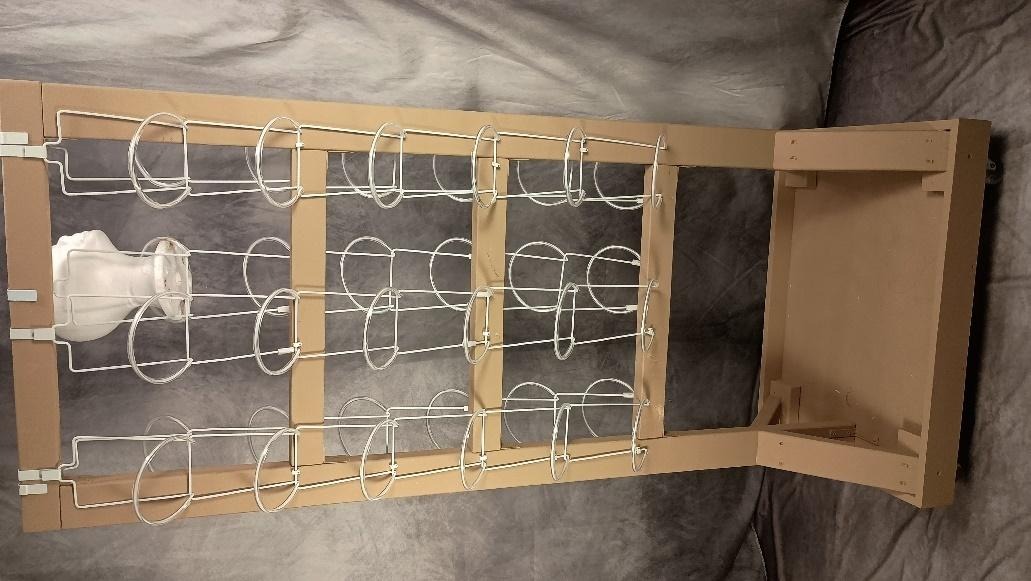
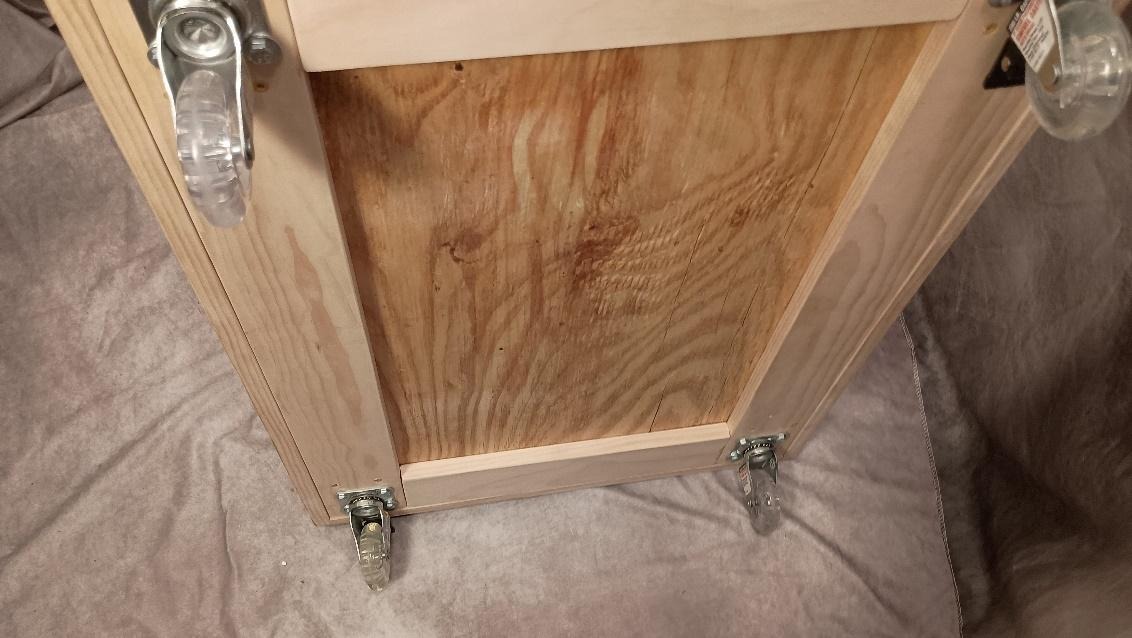
Custom wig storage cart - protects door hinges and organizes wigs efficiently
Materials Needed for Cart Construction
Depending on the number of wigs and size of the collection I made a rolling cart for the wigs and the cost is not that expense, it does require some tools
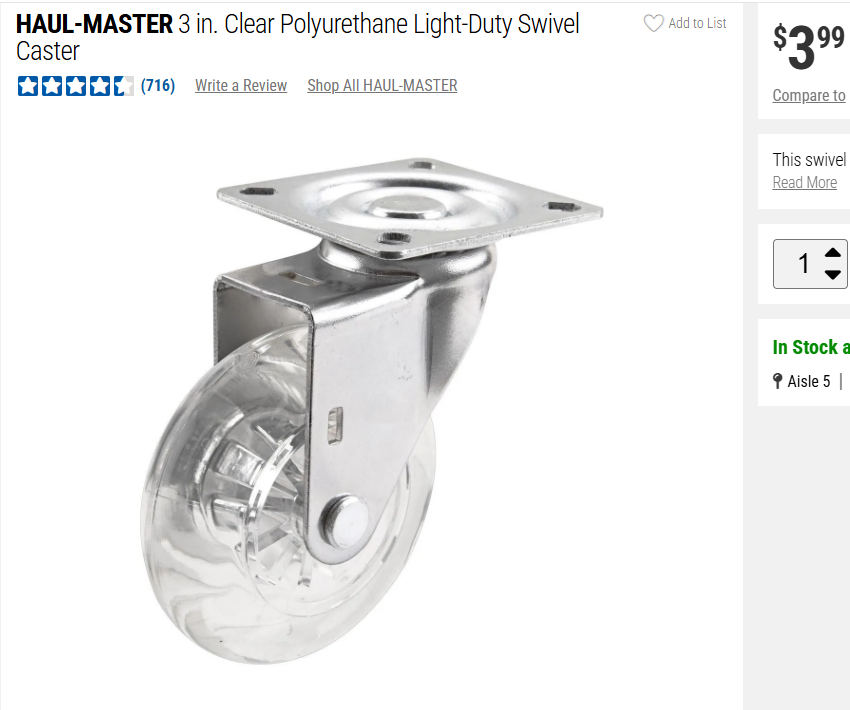
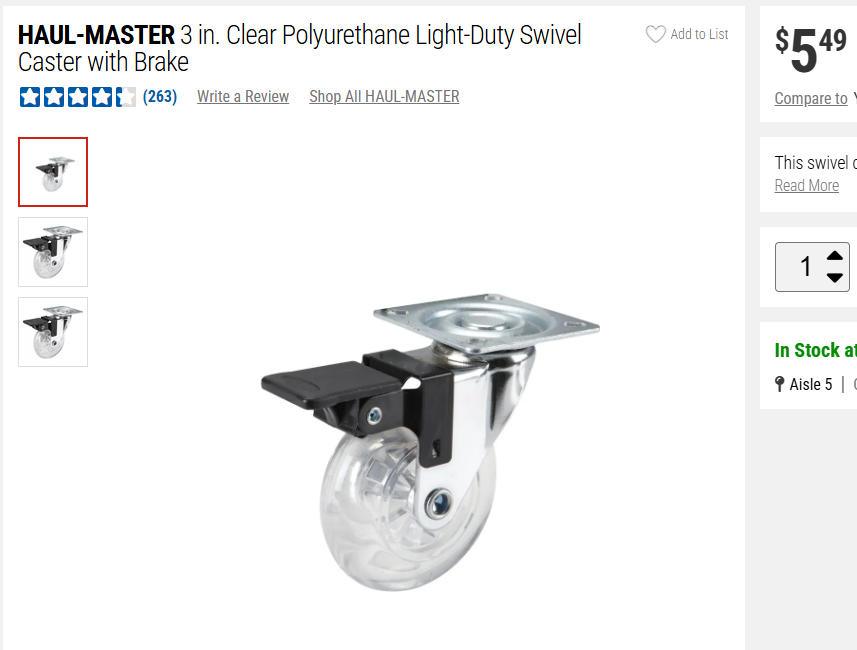
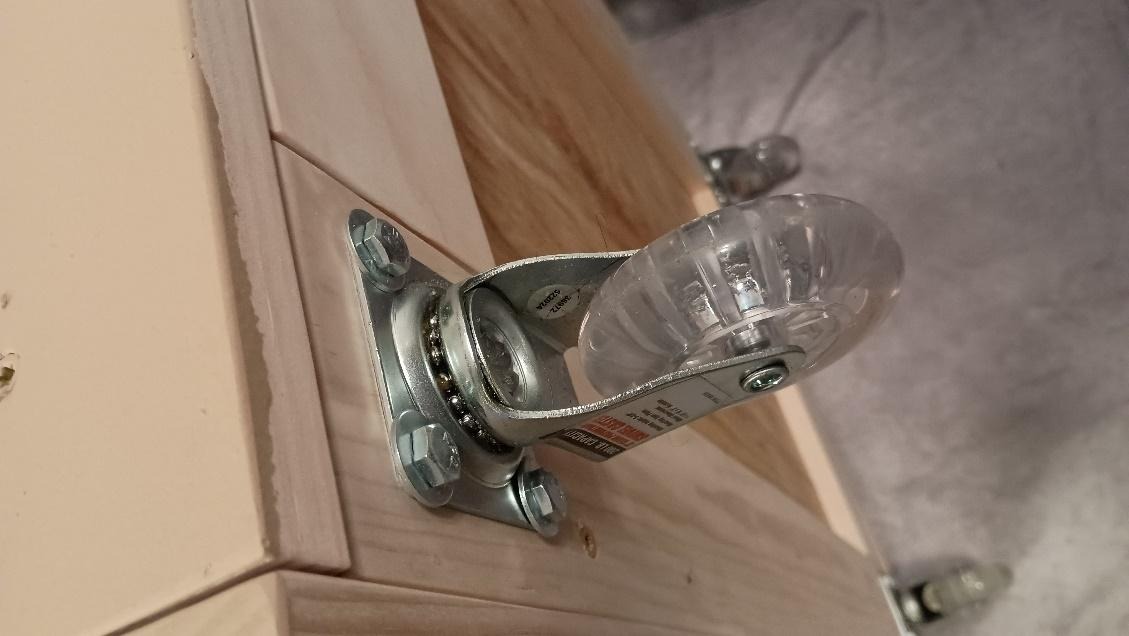
1. Caster Wheels
4x caster wheels for mobility
2. Plywood
1x 2x4 Half inch plywood (full sheet saves money)
3. Pine Wood
3x 3" by 2" pine wood (actual 2½" by 1½")
4. Select Pine Boards
4x 4" by 1" select pine boards (actual 3½ by ¾)
5-6. Wood Screws
1LB 3½" long wood screws & 1x 1¼" wood screws
7. Bolts and Nuts
16x ¼" thick bolts and nuts for caster wheels
8. L Brackets
12x L brackets for structural support
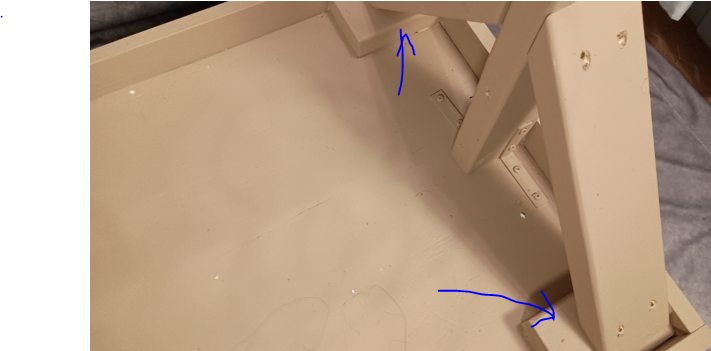
Construction Process Images
When getting the plywood, you can get a full 4/8 sheet but that will be a lot of wood. You will save money in the long run cutting it yourself but some people do not have the space.
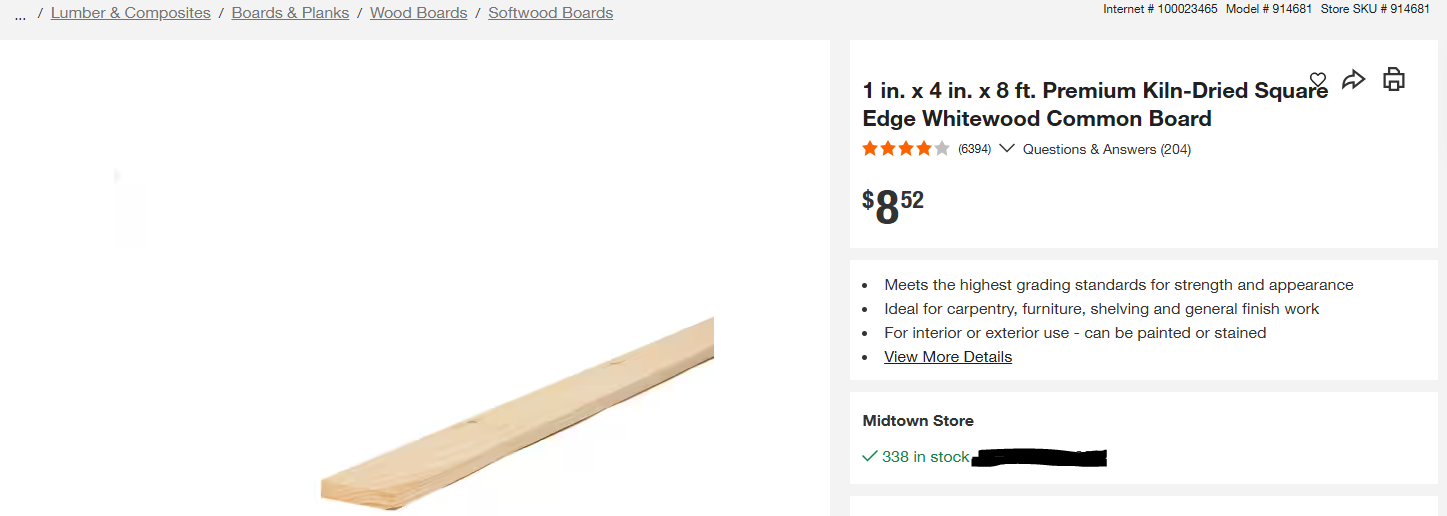
I use select pine to not have it be bulky and also be lighter. You're not making something to carry 1000 LB (450 KG or so) of stuff.
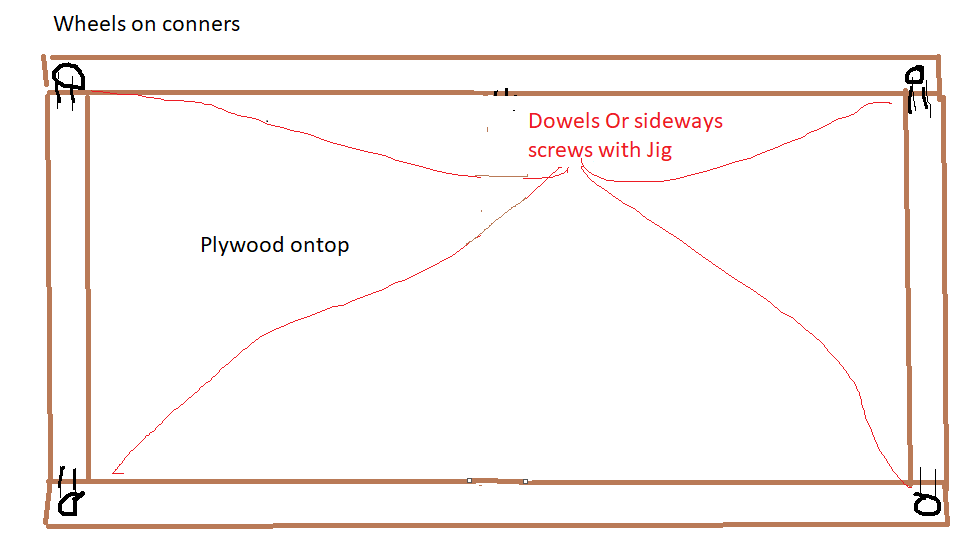
This is more so show what you can do while not spending to much. I bolted in the wheels with nuts on the other side. You can also use "lag" screws as well.
I hollowed out holes for the bolts and nut and washers to give a lot more strength. I can also use this cart to move heavier stuff in the future so I future proof these things.
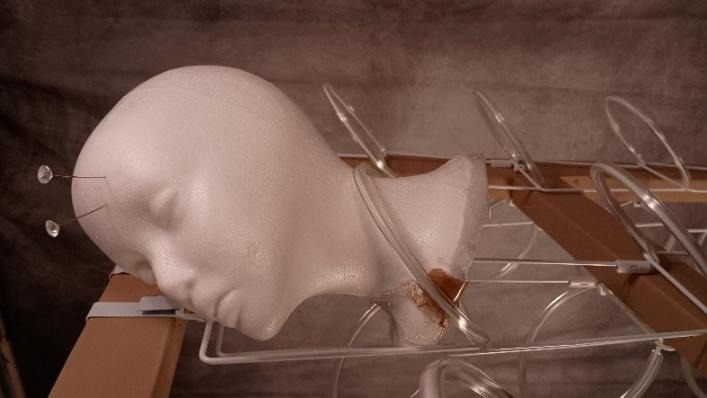
Wig Display and Organization
You can use theses craft foam heads to hold more detailed and valuable wigs that you want to keep preserved.
I keep my wigs largely separated from very long and more traditional lengths.
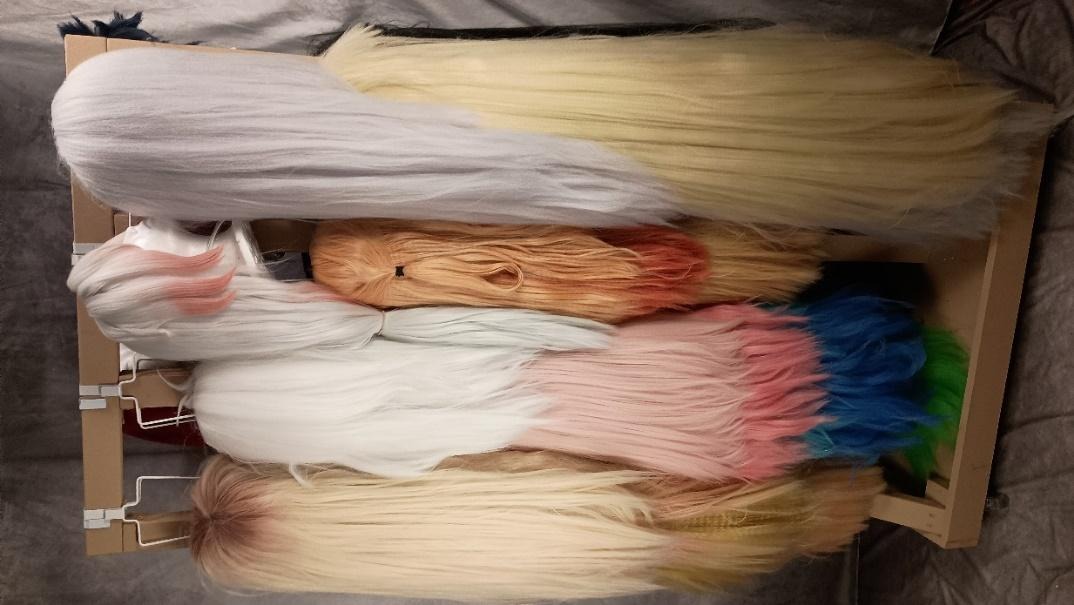
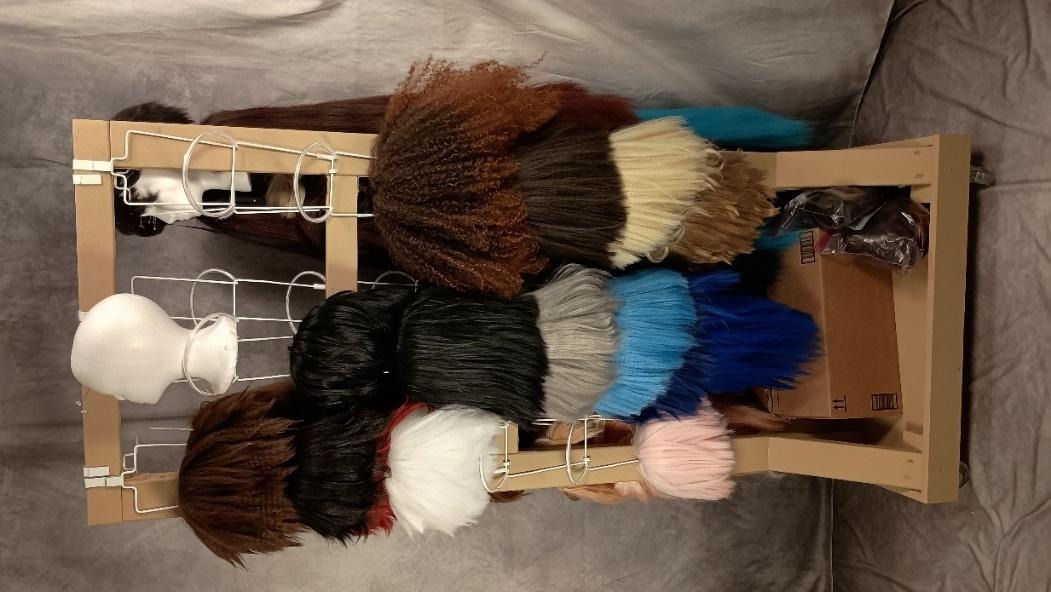
Completed wig storage cart with organized wigs and tool storage at the bottom
The bottom is handy for wig parts and Wig tools.
Sign in
No account yet?
Create an Account